Collect Information
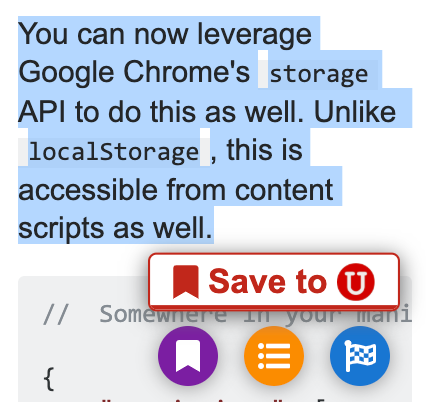
Unakite provides a light-weight clipping tool for you to quickly grab almost any information as you browse the web. You can access it by:
- highlighting text on any webpage
- hold the
Option(on macOS) orAlt(on Windows and Linux) key and draw a bounding box around the area of interest (illustrated below)
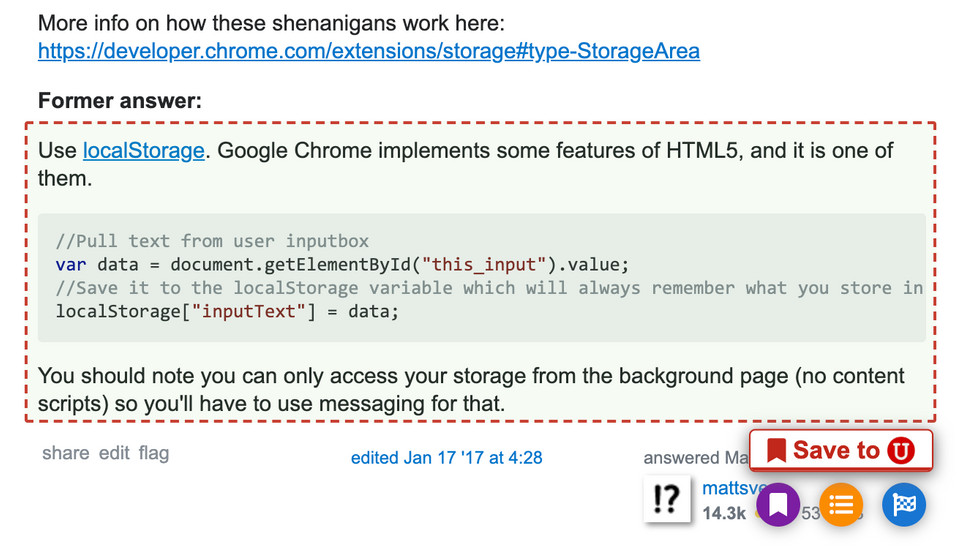
You can save the selected snippet by clicking the "Save to
![]() " button that pops up, or hover over it and click on one of the categories of snippets, as further explained here: Collect Options & Criteria Through the Clipper.
" button that pops up, or hover over it and click on one of the categories of snippets, as further explained here: Collect Options & Criteria Through the Clipper.
Snippets, Options, and Criteria
All the information you collected are treated as snippets in Unakite. A snippet can be as small as a few words or as large as chunks of sample code. All the snippets you collected for a task are accessible in the sidebar and the dashboard in the form of snippet cards.
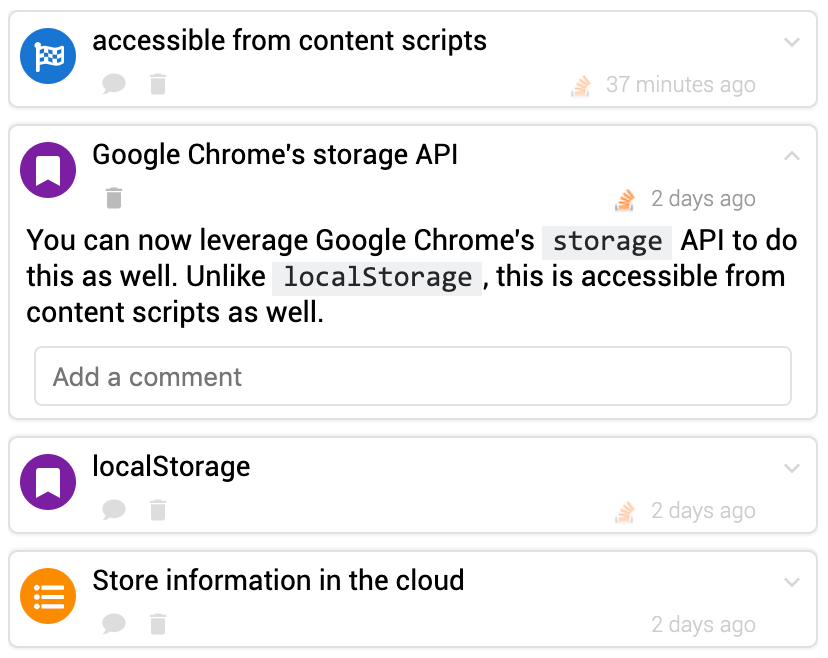
A snippet can be futher classified as either an option or a criterion when you are constructing your comparison table. Simply put, options are the various way that a task or problem may be solved, and criteria are characteristics of an option or potential situations where it would become useful.
Collect Snippets
As mentioned at the beginning, there are two light-weight ways in Unakite for you to collect information snippets into the task you're working on.
Text Highlighting
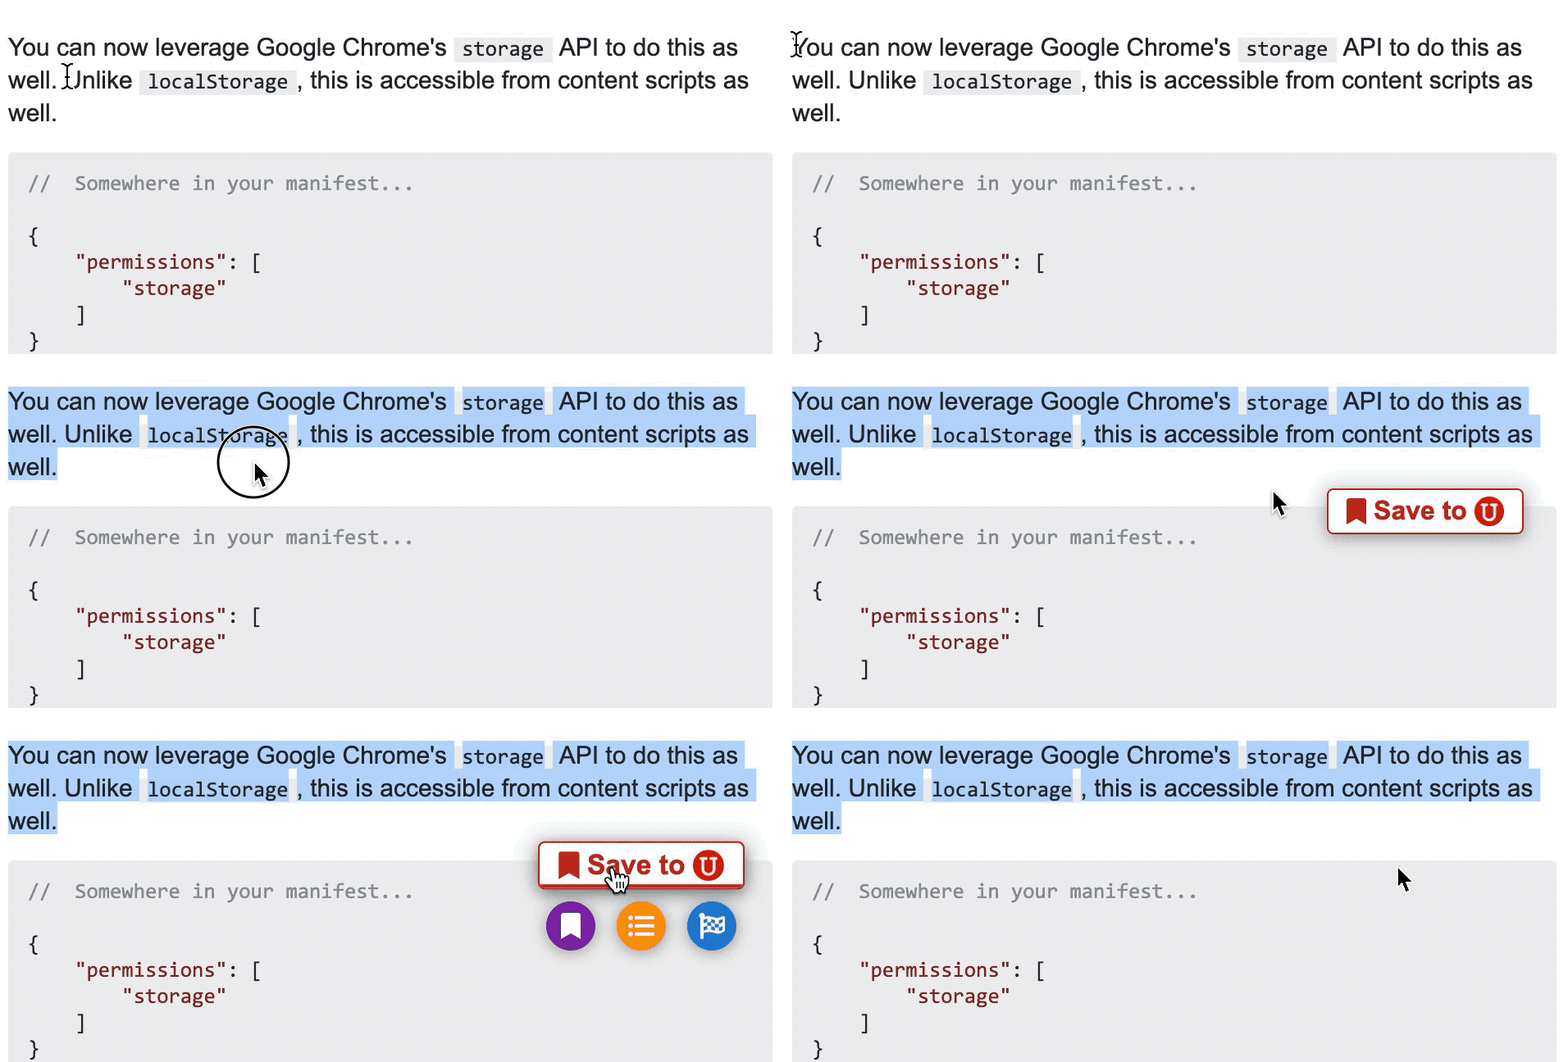
When you encounter some text you'd like to clip, simply use your cursor to select (highlight) it and click the clip button that says "Save to U" to collect.
Drawing a Bounding Box
Sometimes it's easier to just draw a box around the area you would like to clip. Fortunately, Unakite supports just that! Simply hold the Option (on macOS) or Alt (on Windows and Linux) key and draw a bounding box around the area of interest, and click the clip button to collect it.
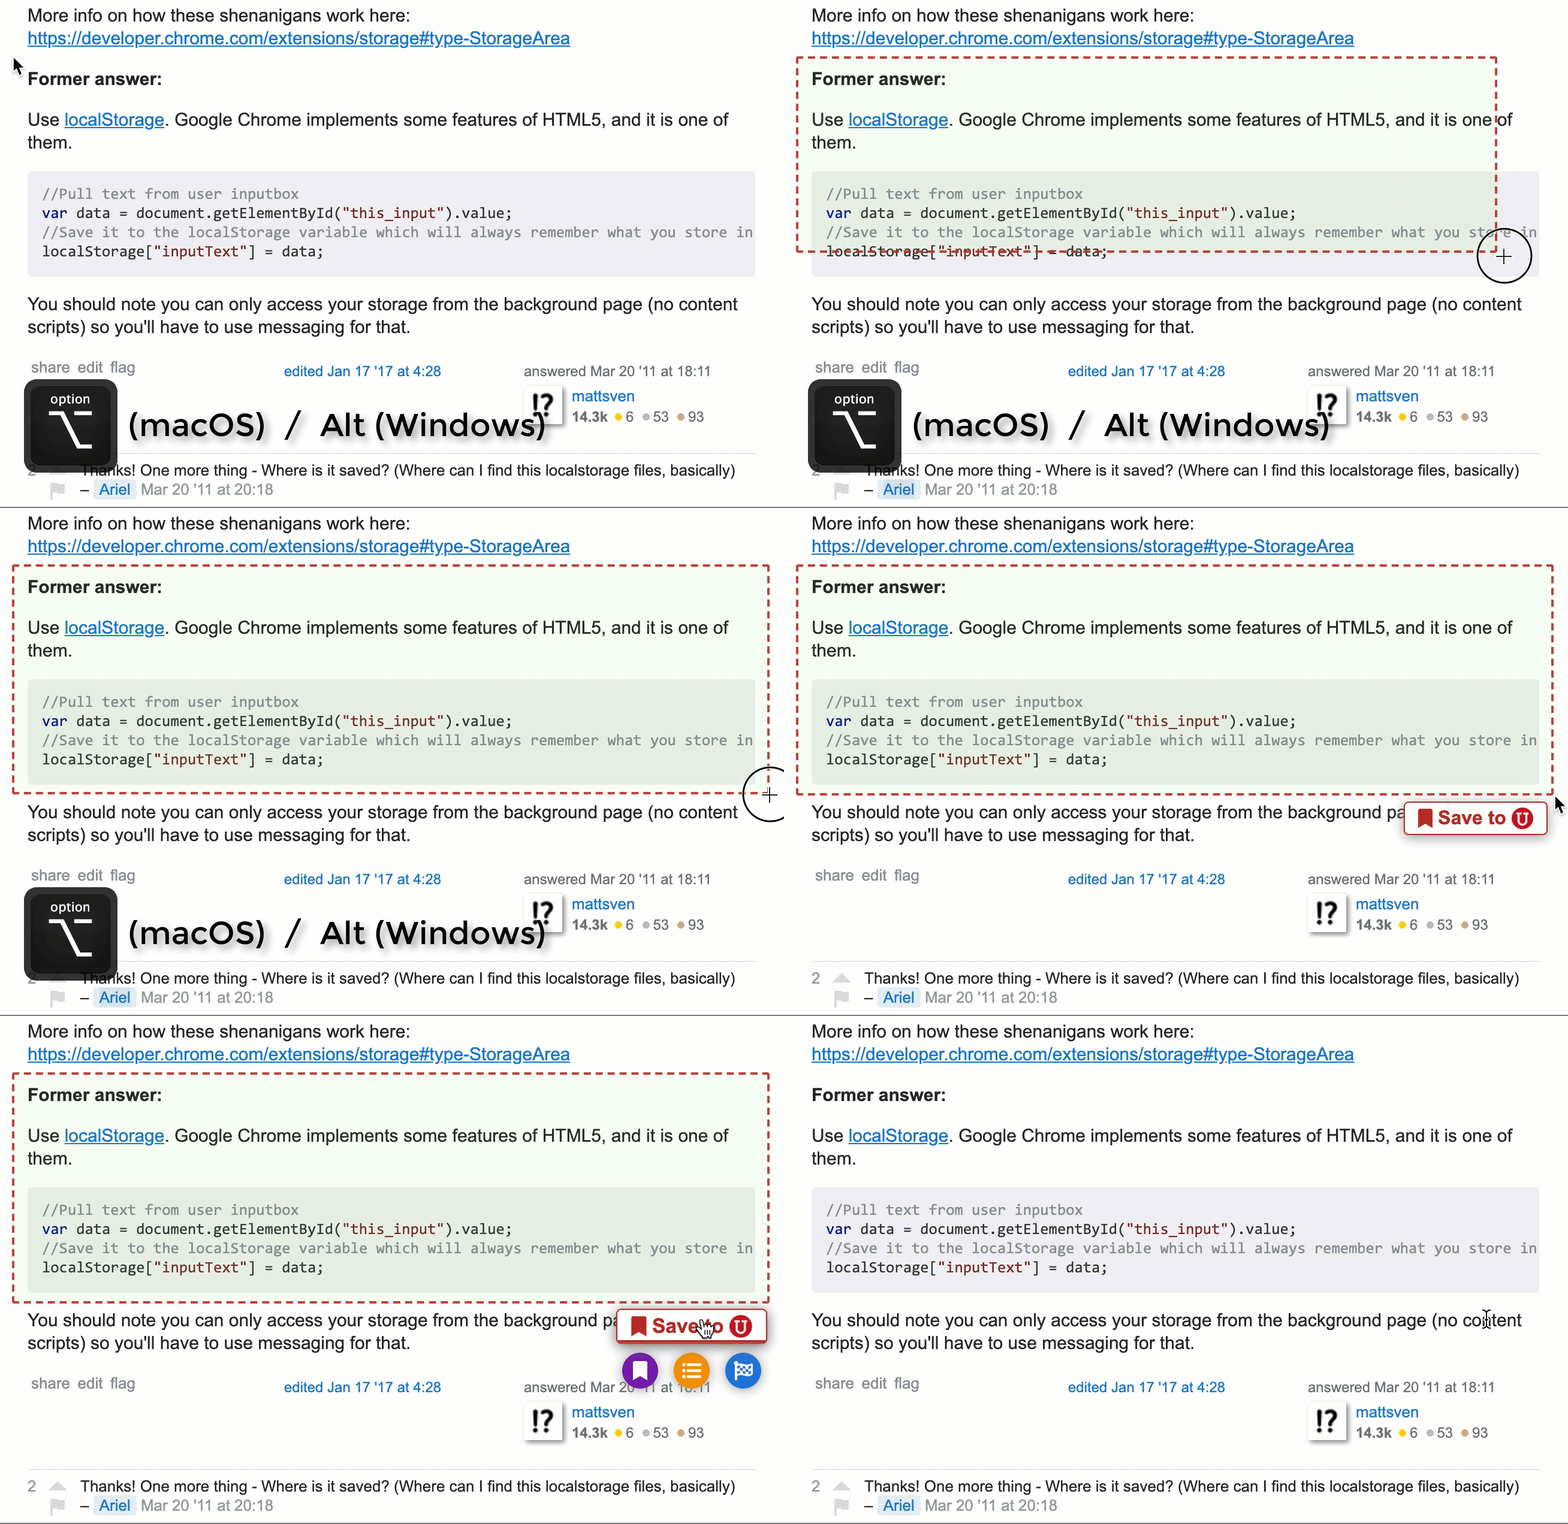
Note that under most circumstances, collecting through draing bounding boxes will automatically grab the HTML (with the original style) as well as an image screenshot of the content inside the box as the content of the snippet. These can later be viewed in the snippet repository.
While Working with Comparison Tables
There are also a couple of ways for you to collect snippets directly into the comparison table that you're working on with only one click.
Collect Options & Criteria Through the Clipper
The clipping tool is designed to minimize your cognitive effort when collecting information, namely you'll be able to save a snippet with only one click of the clip button without thinking about whether it's a potential option or criterion in the first place. However, if you know for sure that the snippet you're about to collect is an option or a criterion, you can mouse over the clip button to reveal three additional buttons:

Clicking the
 (snippet button) will save the snippet like in the previous case.
Clicking the
 (option button) will save the snippet as an option and automatically put it in the current comparison table as a new row header.
Similarly, clicking the
 (criterion button) will save the snippet as an criterion and automatically put it in the current comparison table as a new column header.
Put Snippets Directly Into The Sidebar Table
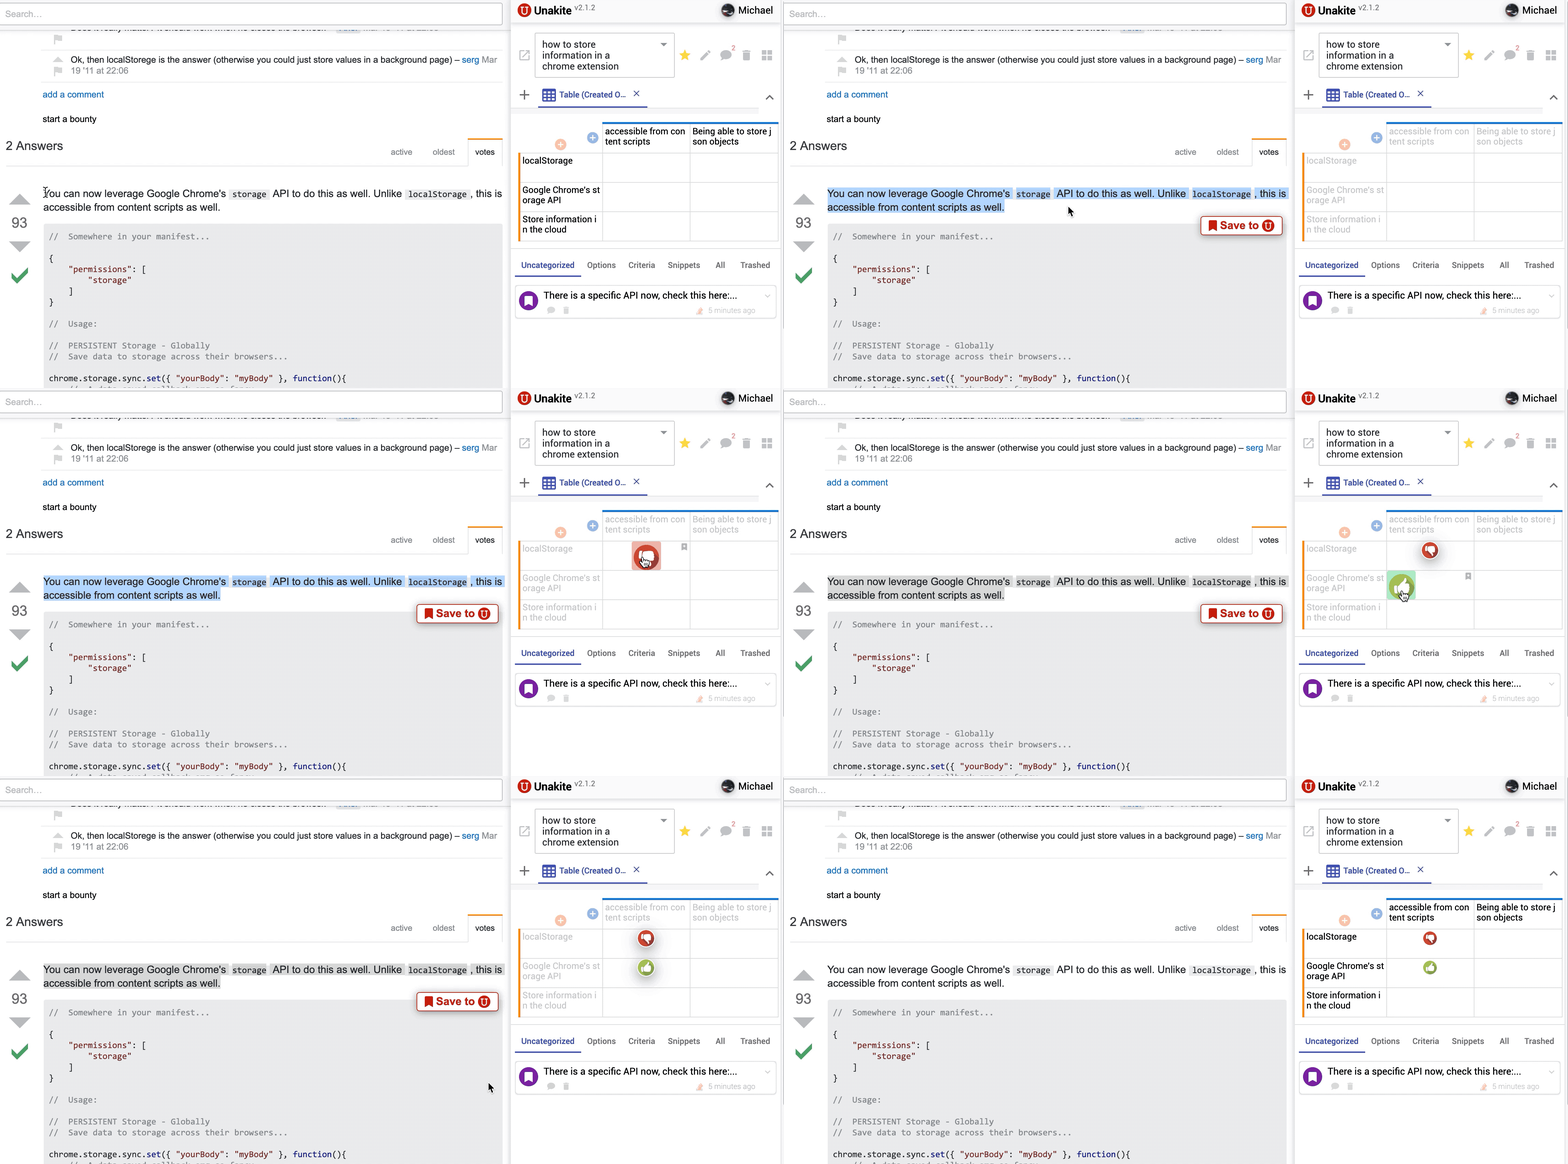
You can also put snippets directly into the sidebar table as evidence / ratings (more on that in Organizing Your Knowledge). To do this, after you have made the highlight / drawn the bounding box, simply head over to the sidebar table and click on the desired rating pane in the cell you would like to put the snippet in.
In the example below, the highlighted snippet indicates that localStorage is NOT accessible from content script while chrome storage API is accessible from content script. Therefore, the author clicks the thumbs-up (positive) rating pane in the corresponding cell (row: localStorage, column: accessible from content script) to put the snippet as a positive evidence while clicking the thumbs-down (negative) rating pane in the cell below (row: Google Chrome's storage API, column: accessible from content script) to put the snippet as a negative evidence. This both collects the snippet and classifies it in one step!
View / Edit Collected Snippets
All the snippets you collected can be accessed through the snippet repository in the sidebar and the task detail view.
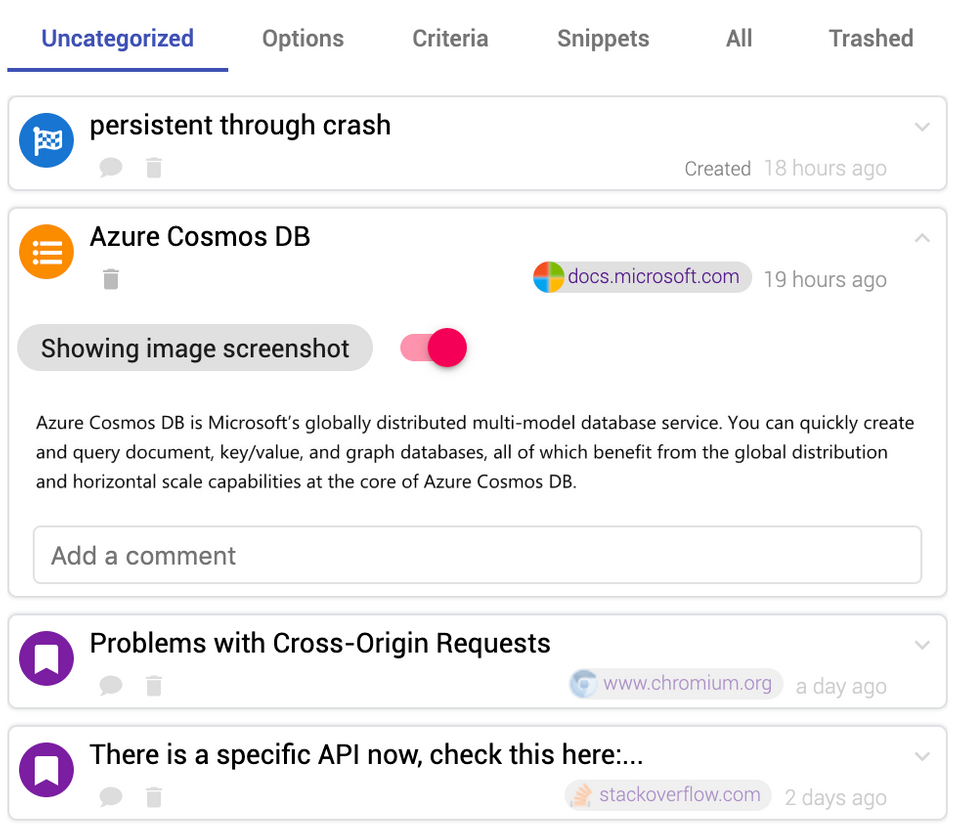
There are 6 tabs in the snippet repository:
-
Uncategorized tab contains all the snippets that are not yet in the comparison table. Note that if you have multiple tables in a task, the uncategorized snippets will automatically update according to the selected table.
-
Options tab contains all the options (row headers).
-
Criteria tab contains all the criteria (column headers).
-
Snippets tab contains all the snippets that have been put in the comparison table cells (options and criteria excluded)
-
All tab contains all the snippets (options, criteria, and uncategorized included)
-
Trashed tab contains all the deleted snippets.
Snippet Card
A snippet card is by default collapsed, showing only the snippet name (truncated after 2 lines), the source, the collected time, and the comments.

You can click the expand button (
 ) on the top-right corner of the snippet card to expand it. You'll be able to view the snippet content and make comments in the expanded mode.
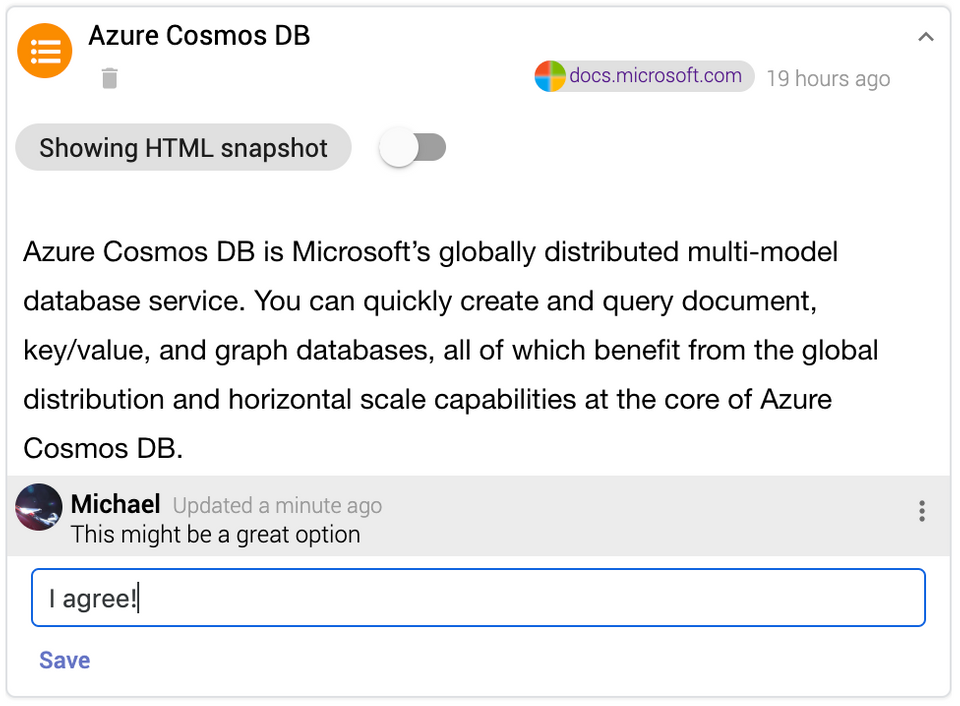
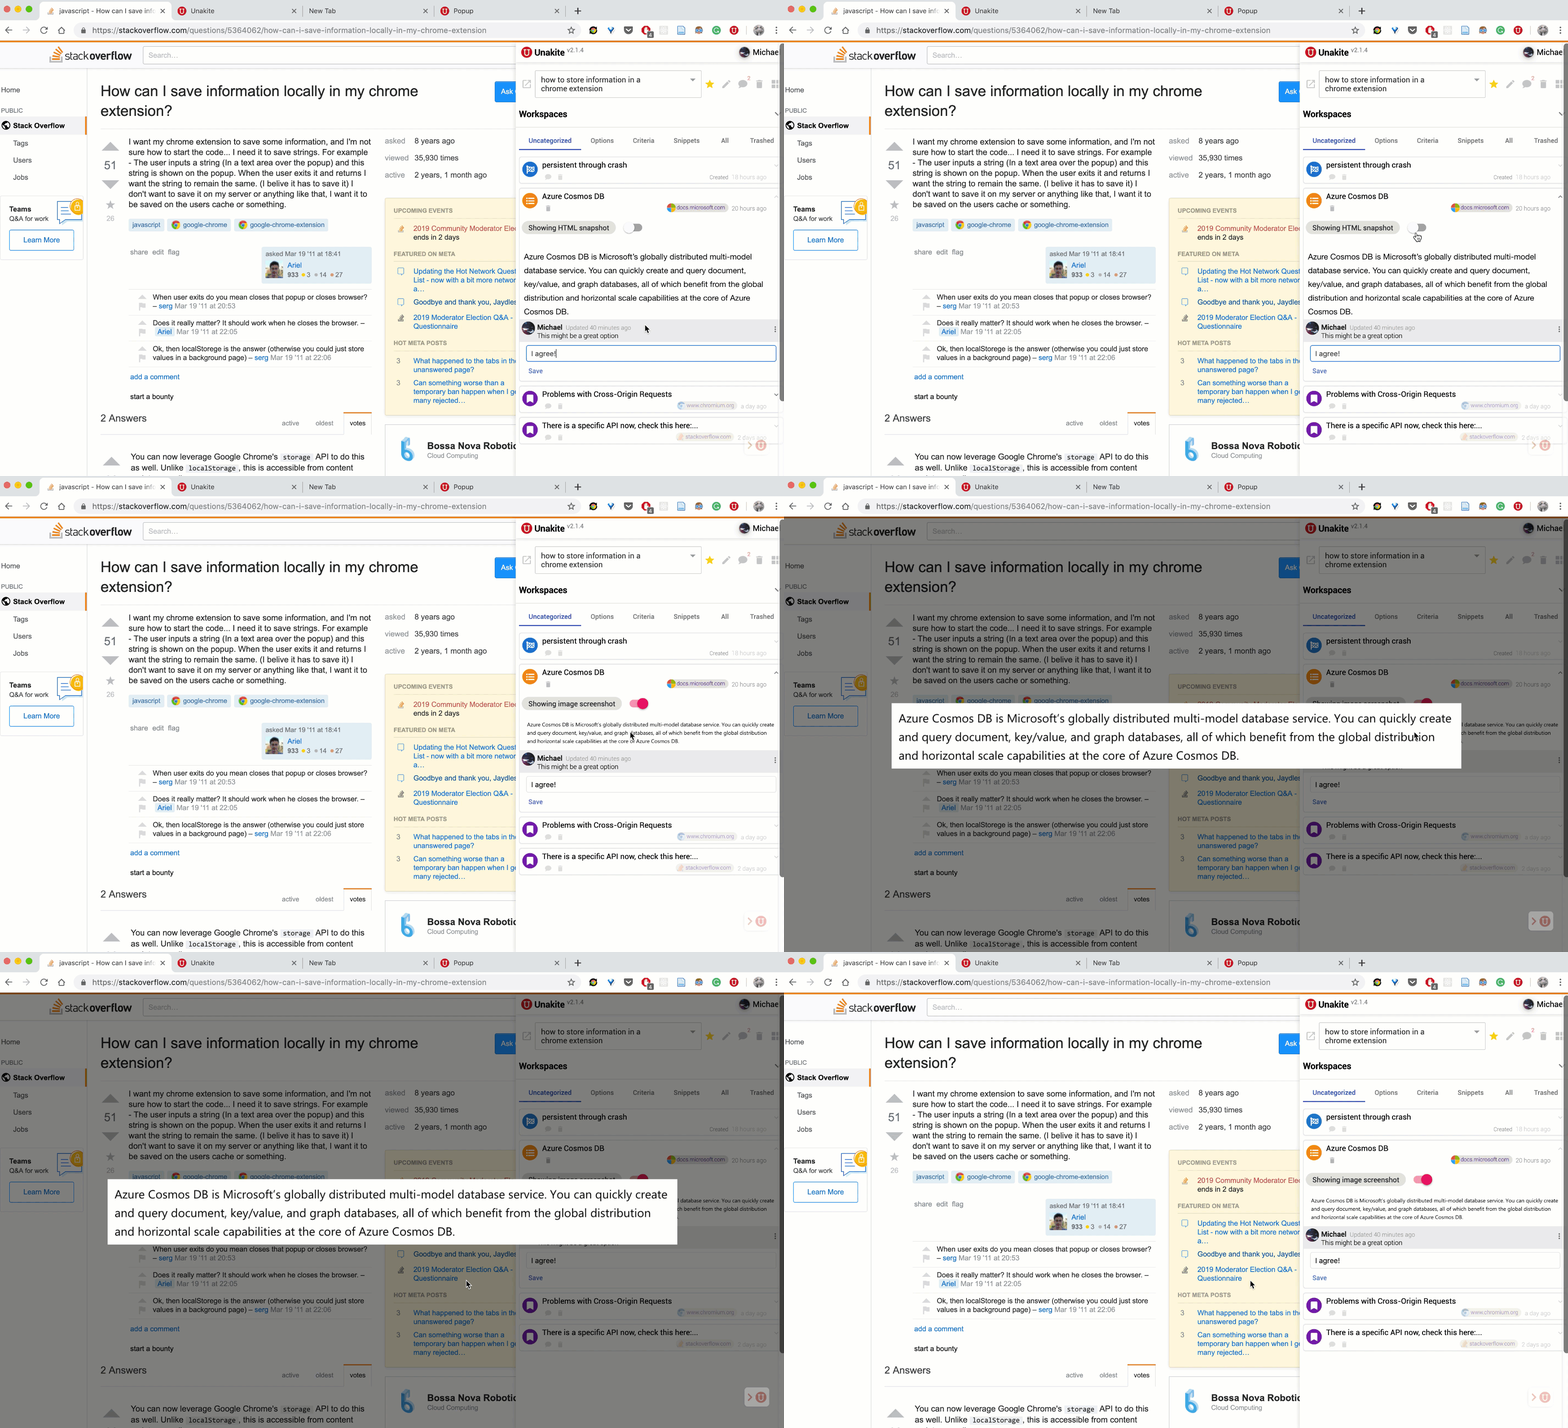
If the snippet was collected using the bounding box feature, you'll be able to toggle between an HTML snapshot view (all the content are selectable) and an image screenshot view using the toggle button above the snippet content. When viewing an image screenshot, you can click on the image to view it in a full screen mode.
Delete Snippets
You can delete a snippet card by clicking the Trash (
 ) button.
The Trashed tab contains all the deleted snippets. To Un-delete one, click the Un-trash (
 ) button. To empty the trash (delete the snippets listed in the trashed tab forever), click the Clear Trash button (
 ).
).